Many of my students use to shudder when I explained that trigonometry is in Kempo. “How can that be?” they would protest, “This is karate, not math.”
To me, martial arts is “applied mathematics.” Just as math has laws and theorems, so too does Kempo. In fact (according to several masters), the translation of Kempo is “law of the fist.” Not the judicial law, instead the law is the biomechanical law, the laws of applied mathematics.
This article is not a dissertation on the subject; it is a quick explanation of my understanding of this concept. Joint locks require both correct (right) angles and 90° (right) angles for maximum effect. Takedowns and other body manipulation should make use of the X, Y, and Z-axis.
What I noticed in several techniques is the right angle in controlling locks. They may be arm locks, joint freezing, or body checks; the right angle hides in those techniques. For the sake of brevity, we’ll use one example.
An Example
In overhead Club Defense #5, there is a T-bar lock on your opponent’s arm that requires three right angles. The first is the shoulder. The second is the elbow, and the final angle is the wrist. Once you lock in these angles, you can leverage the arm over easily.
In this example, if you allow one of these angles to become greater or less than 90°, it will enable the opponent to slip out. The elbow is critical. If the elbow lock is less than 90°, then the takedown maneuver is challenging to perform.
The X, the Y, and the Z
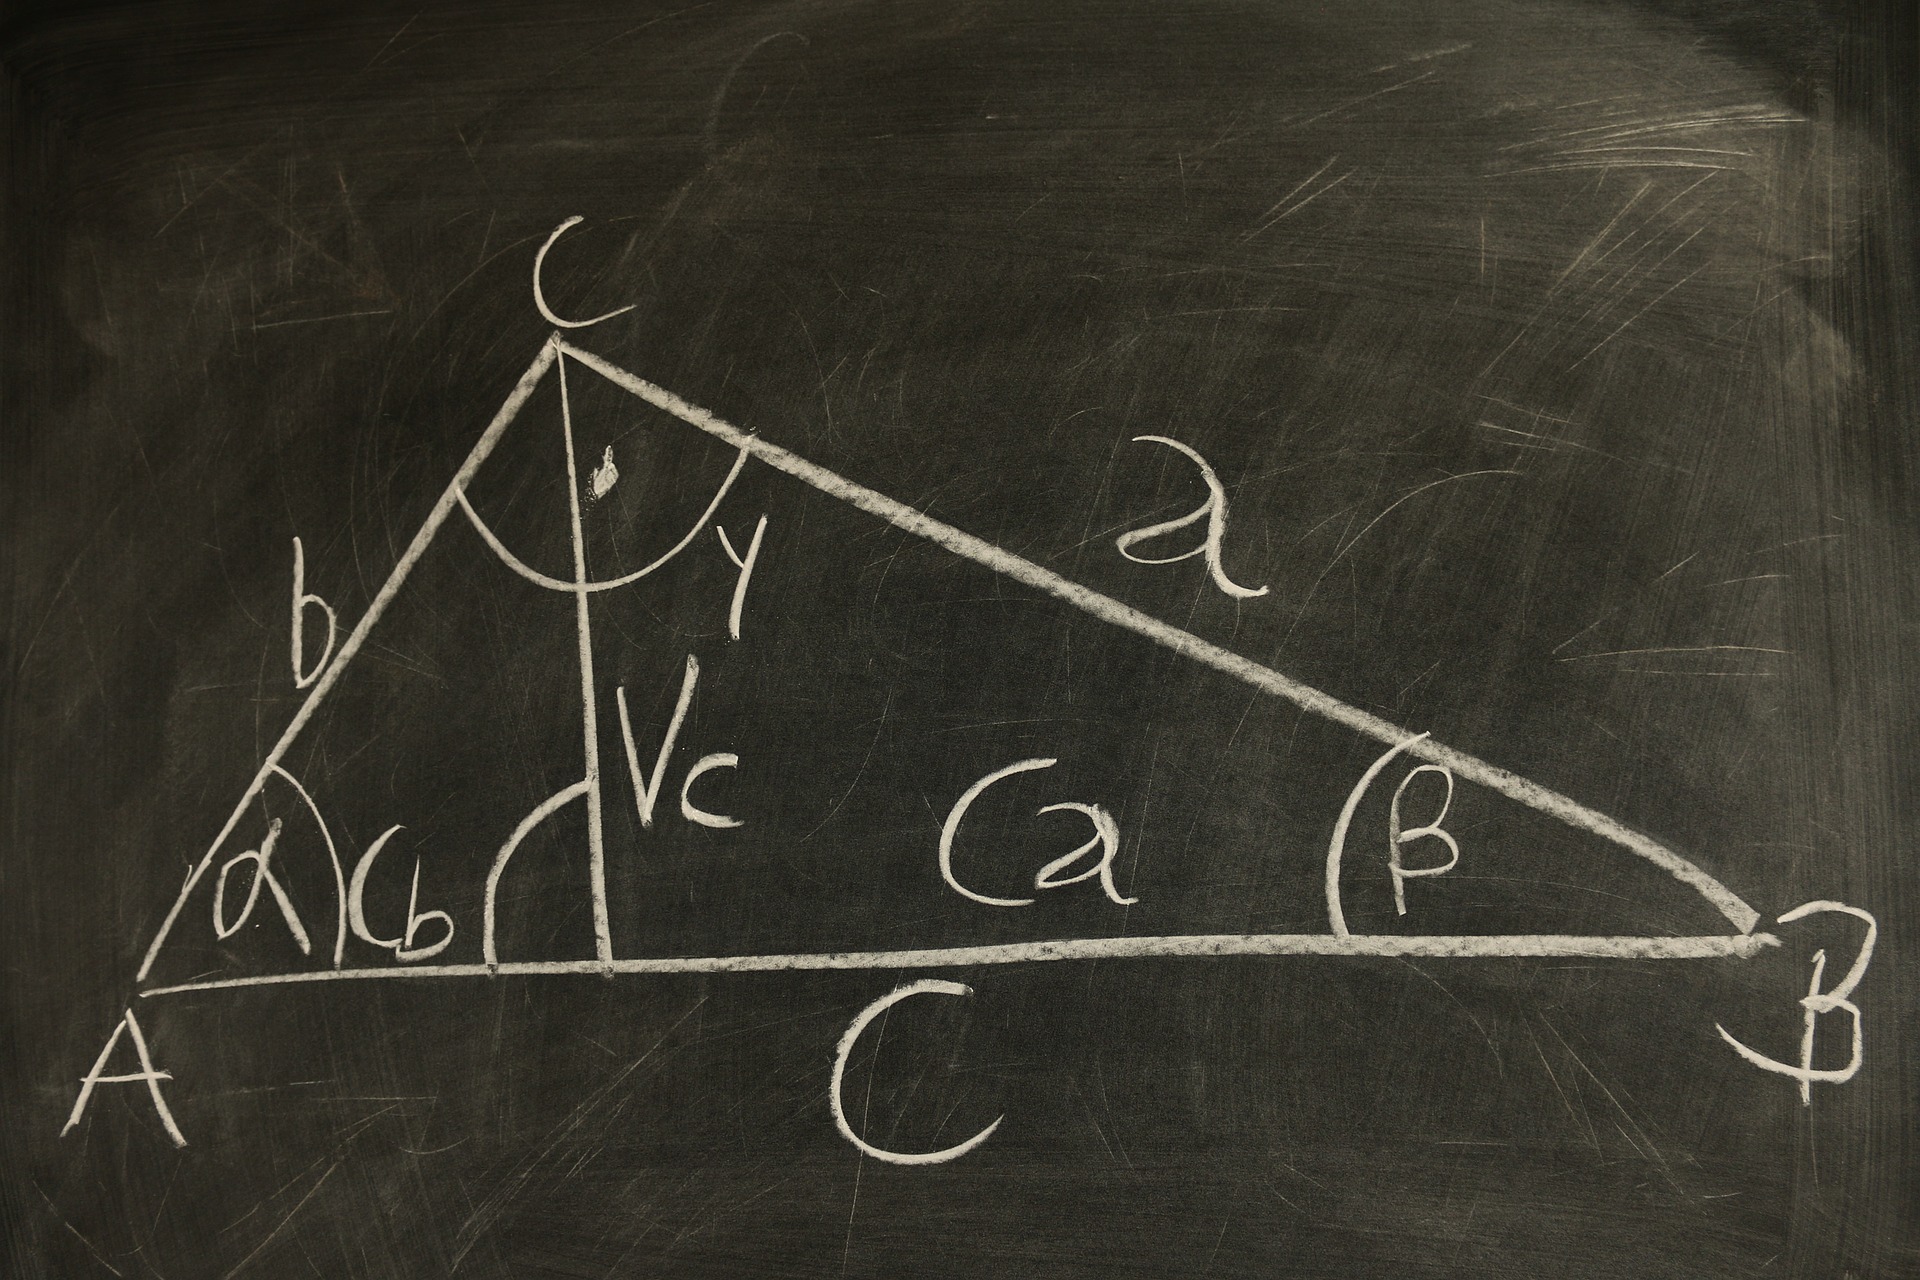
Two-dimensional space has two axes, the X and the Y. if you’re unfamiliar with this concept, don’t worry. On a piece of graph paper, draw a vertical line and a horizontal line. They should share one point, which makes them look like an oversized “L.” The vertical line is named Y, and the horizontal line is called X.
Where the two lines meet is called the origin. Each square you move away from the origin is one step away—the Y and the X record this information for you. If you move two steps up the vertical line, you move to the two-point of Y. If you move three squares across the horizontal line, you move across to the three-spot of X. To note this information, we use the structure (X, Y). This nomenclature makes our example equal to (3,2).
Now it gets complicated. There is a third axis that runs into the origin point. We call this axis Z. however, we can’t draw the Z-axis on the graph paper because it sticks out of the paper. Take your pencil and place the point at the origin point. Make sure the pencil is straight up. This pencil represents the Z-axis.
To note things on this axis, we add another number to our list. The first square on the Z-axis is 1. This extra axis makes our continuing example (3,2,1).
Unfortunately, you’ll need a good trigonometry book to teach you more. I highly recommend browsing through old math books to keep your skills sharp. You never know what you’ll learn. Hopefully, this is enough to understand what I’m saying about the three-axis.
Zeroing Out the Axis
To zero out an axis, you eliminate diagonal pulls. This activity brings the coordinates of an axis to 0. If you imagine your opponent having the X, Y, and Z lines sticking out of their body, you can understand this concept. Where the lines meet, in the middle of their body, is the center point (0,0,0).
When you pull the opponent forward only, you increase the Z value, but the X and Y values remain 0. Likewise, if I pull the opponent directly down (not towards me), the Y value decreases (because you’re going in the negative direction. The Z and X values for that pull are 0. Should I pull the opponent’s ear precisely on the horizontal plane, the X value increases, but Y and Z remain at 0.
How does zeroing out one or more axis control the body? The body capable of being pulled in “funny” directions. All joints and muscles can accommodate the pull and fold up. Also, it’s easy to pull someone in a “funny” direction because our bodies are full of joints and muscles. Should someone pull an opponent in only one axis, the body’s joints can not adjust to the steady pull.
The best example of this is the classic “mother ear pull.” The mother grabs the tender earlobes of her child and pulls them out of the store. She neither pulls down nor to the side. These would be the X and Y-axis. It’s just a grab, and she walks out of the store. Her walking is a pull in the Z.
The Opposite for Joints
Joint locks turn in two or more directions. Many of the locks require two joints at a 90° angle. For example, “nikajo” places the wrist at a 90° angle to the forearm. You also put the shoulder at 90° to the body. For maximum effect, place the arm at 90° to the back of the uke. Other joint locks work similarly.
There’s a structural flaw in the application of the right angle to the skeletal system. The body has a difficult time recovering from such a position unless it is familiar with the activity. The bones, ligaments, and tendons prefer natural positions. When the limbs are in these specific angles, the body loses its ability to move.
Just Do It
Observe during your practice how this works. Fiddle with your partner to determine which proper application of the technique works best and most often. There is no substitute for working this out with a suitable partner—you need to do and feel the subtle differences. This practice is how you make the art yours. It would be best if you practice, practice, and practice.